How to Clean Textured Flooring
Not all floors are created equally. Some require different tools or techniques for upkeep. Specifically for textured floors, there’s some need-to-know tactics that you can use to be more effective and efficient with your cleaning approach.
Dirt, debris, and soap scum can easily build up inside of the small crevices textured floor without regular maintenance. You’ll notice that the floors will have a general overall dirty look (and feel!) to them. Now, this is an occasional deep cleaning task that you’ll want to add into your cleaning routine as you notice buildup.
How do I know if I have a textured floor? A textured floor will have little caverns or crevices, making it a non-flat surface. You’ll notice this when you run your hand across the floor. The texture is usually noticeable to the visible eye as well.
What about tile floors? You may also have tile floors in which there’s a buildup of dirt and debris in the grout. The technique used for cleaning textured floors can easily be used when cleaning tile grout, too.
As we dive in to the process on how to clean textured flooring, keep in mind that effective cleaning has less the do with the actual product and more to do with the tools and techniques you use. Yes, a good floor cleaner that’s safe for your floor type is important. However, it can be easy to get swept away by the idea that there’s a cleaning product out there that will just “melt away” the dirt. Most of the products available that have these claims, have toxic chemicals and many don’t actually work in the way they say it does…there’s still scrubbing involved.
Here you’ll find a step by step how-to guide on how to deep clean textured tile floors, textured wood floors, textured stone floors, textured vinyl floors, grout, and more. You’ll find the best products and tools to scrub and mop your floors in detail.
Mopping Solution
Floor Cleaner
You’ll need a good amount of mopping solution to saturate the surface when cleaning textured floors. Opt for an eco friendly floor cleaner that’s super concentrated, such as The Tidy People Floor Cleaner. This gets diluted with water and can make up to 16 gallons of mopping solution. Typically one bottle lasts my household for at least 1 year, with cleanings occurring on a weekly / biweekly basis.
Vessel
🪣 Option 1: use a bucket and dilute 1oz of the floor cleaner concentrate with 1 gallon of water
💦 Option 2: use a spray bottle and dilute 3 pumps of floor cleaner concentrate with 15oz of water
The difference between these two options is quantity. The bucket is going to get you more surface area during your cleaning session. A bucket will give you access to more easily saturate floor surfaces. The spray bottle is going to be more targeted and ergonomically friendly — you can spray and saturate surfaces as you go. You may however need to reload your spray bottle multiple times throughout your floor cleaning session, which might slow things down.
Scrubbing Brushes
In tandem with saturating the textured floor with a mopping solution, you’ll want to use a tool to agitate each surface to help lift dirt + debris out of the textures crevices in the floor. The BEST tool that you can use is a brush. Since you’re scrubbing a rather large surface area, there are a number of larger brushes that I recommend that will get the job done better than others. Even better, there are some brushes that come with a long handle, which can save you the effort of getting on your hands and knees. Then there are some that are motorized. I’ll break this down for you here, with the benefits of each. Depending on your needs, you may choose to get one or more brushes for this task.
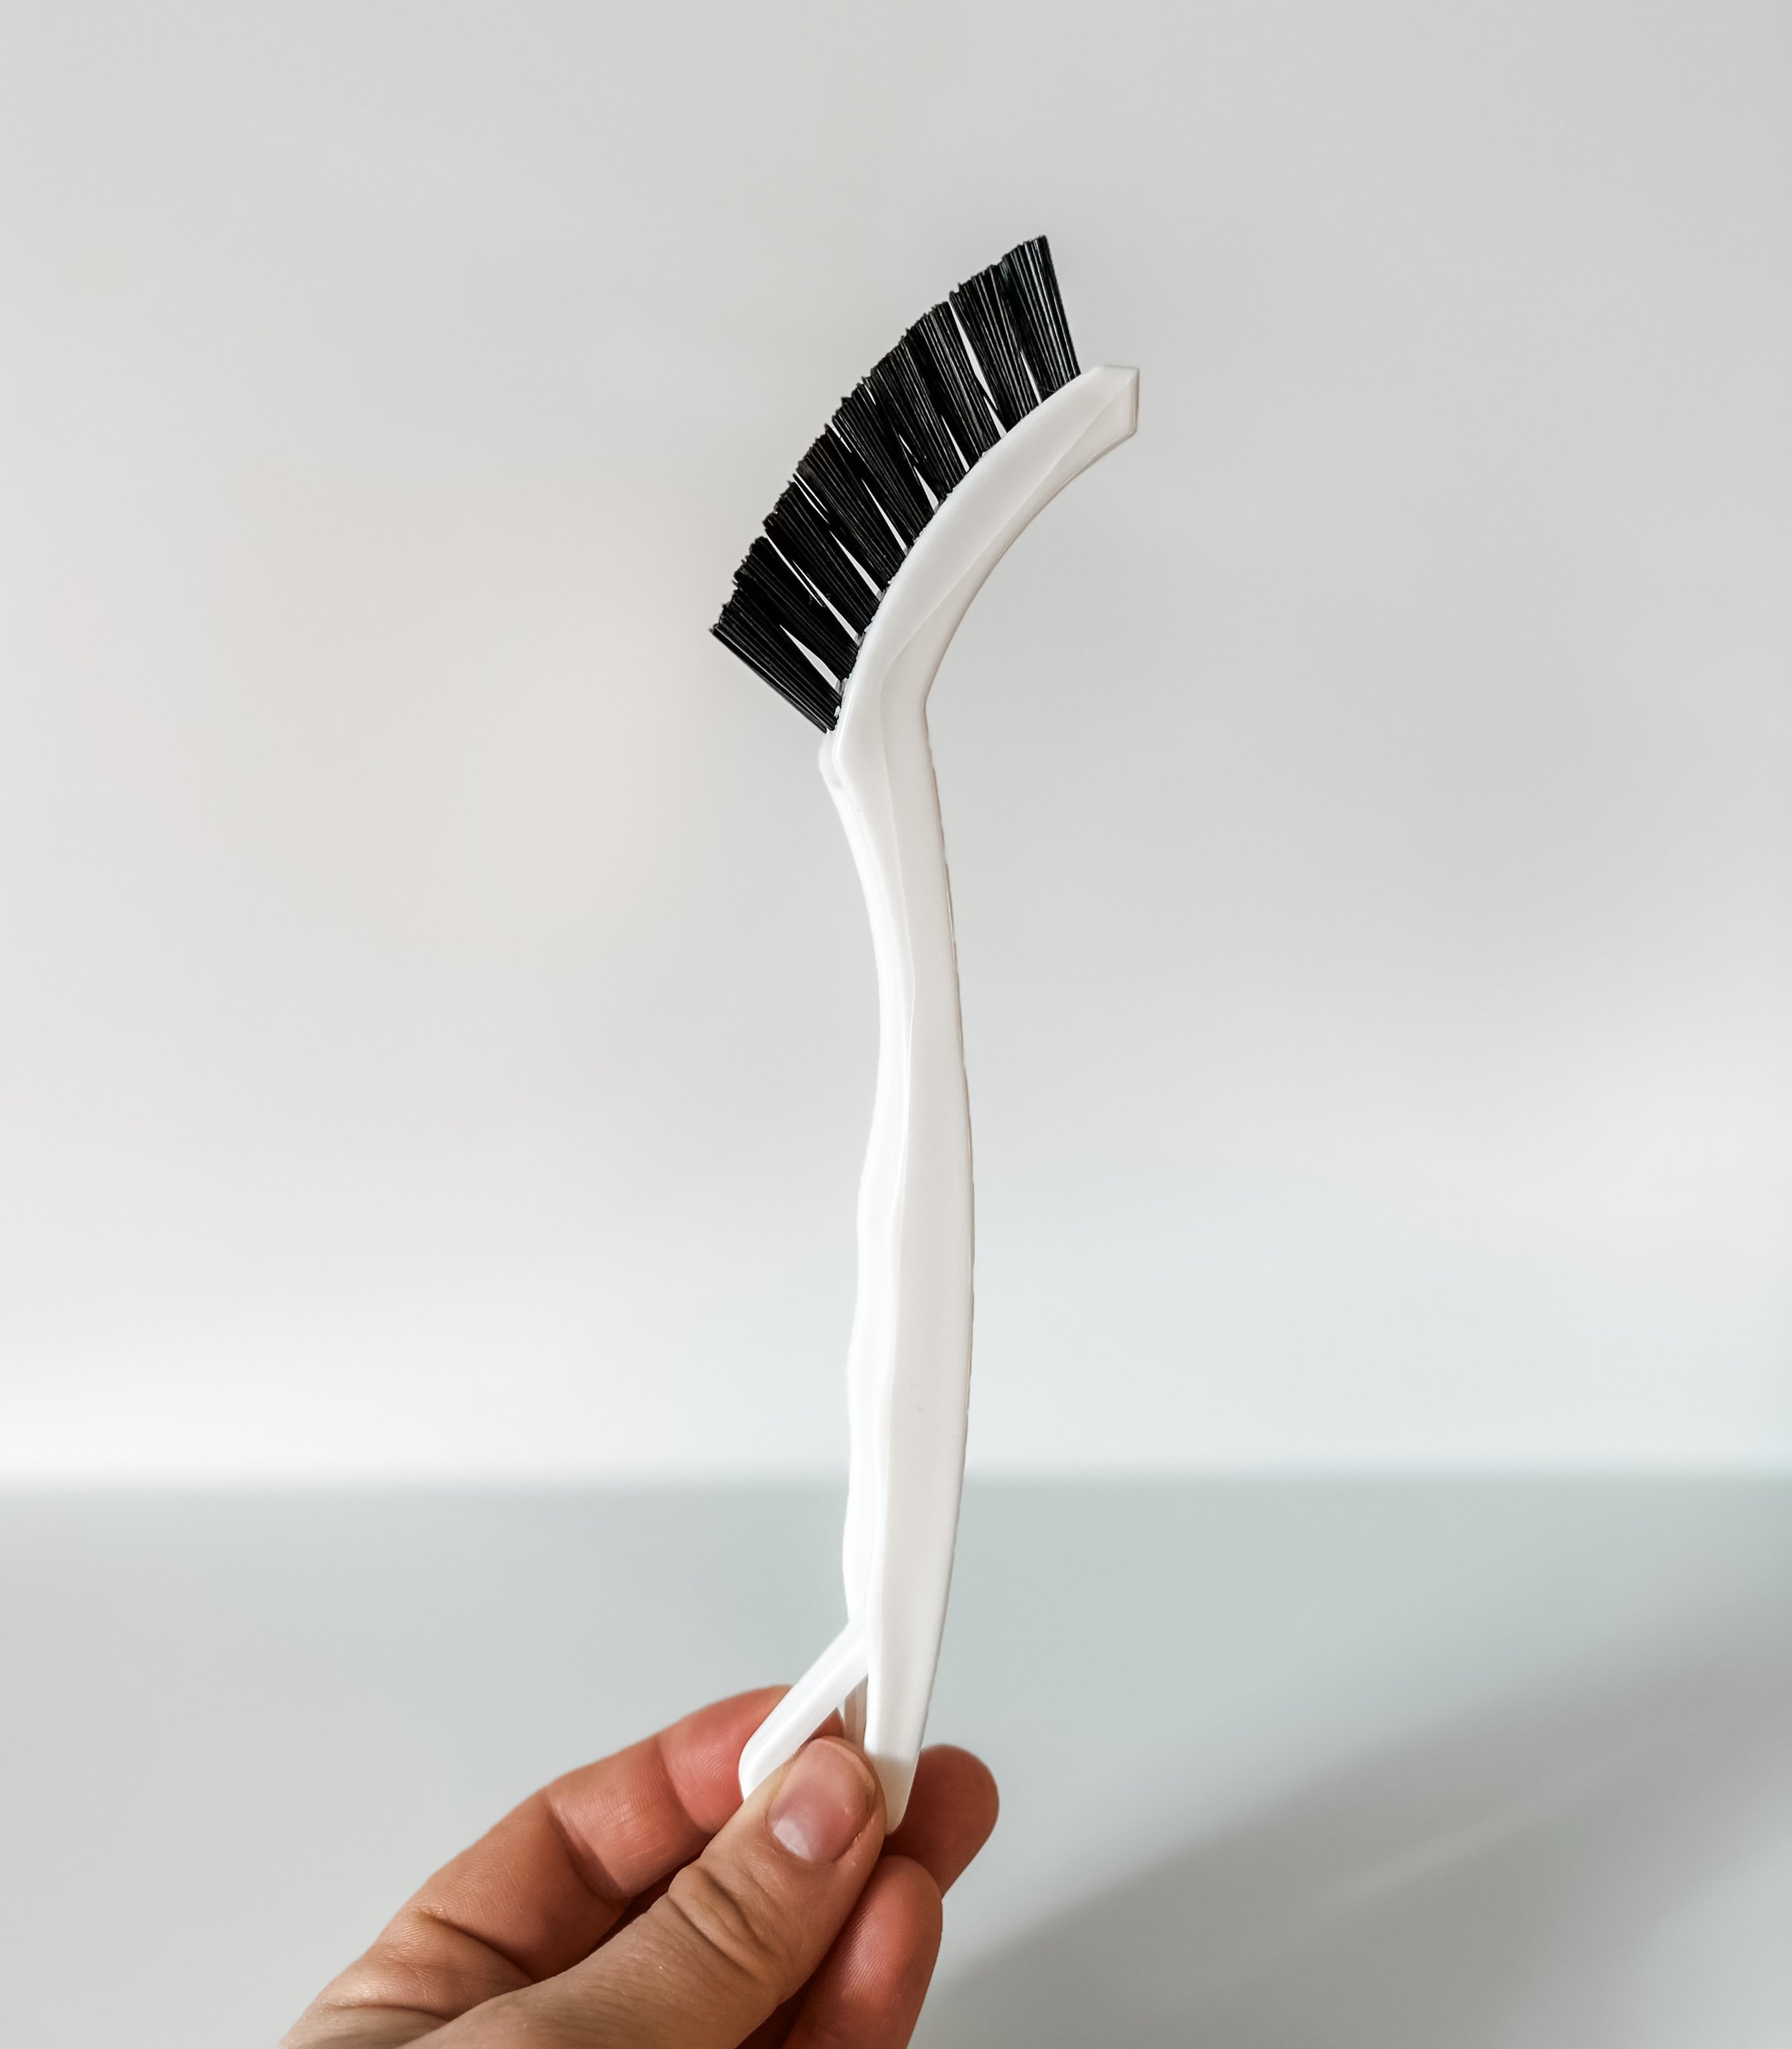
⚡️ small grout brush — a grout brush will get into the smallest of crevices such as the area where the floor meets the wall/baseboard. Or, as it’s self descriptive: grout.
⭐️ hand brush — this is a powerful brush that can utilize a mix of ‘elbow grease’ and body weight. This does require you to be on your hands and knees, so a good pair of knee pads can help greatly. This is a great brush for small spaces and for those who are on-the-go.
✨ a long armed electric spin brush — it’s electric and it has a long arm, making the whole process a little bit easier.
Mop & Towels for Final Cleanup
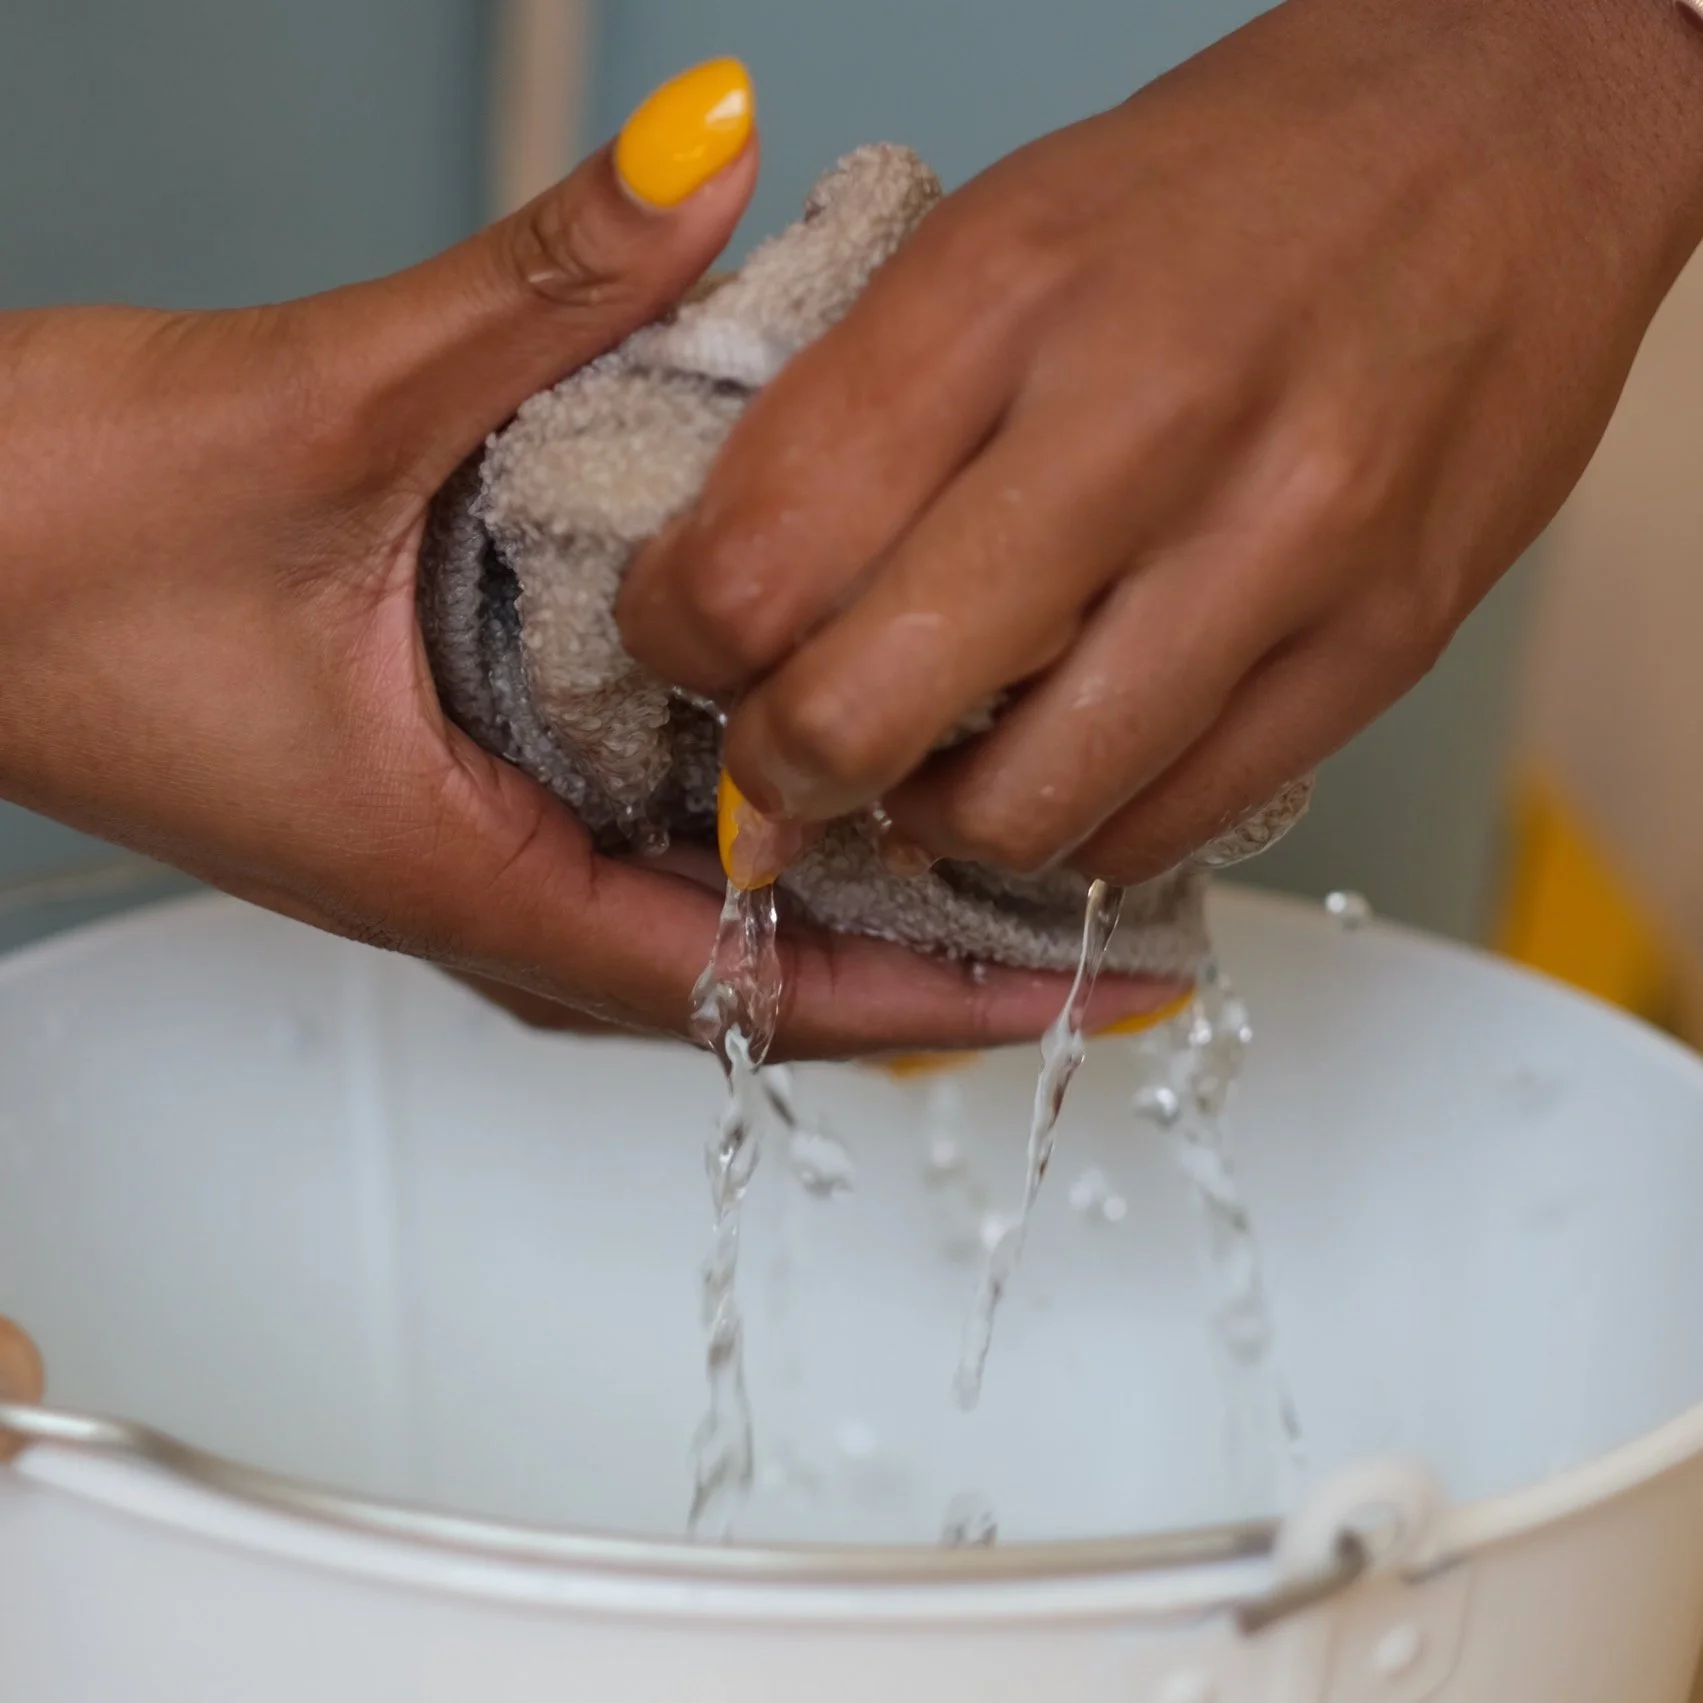
After you’re done scrubbing, you’ll need to fully remove the dirt + debris with towels. You can either use terry cloth cleaning towels, which I recommend for basically everything in cleaning. OR you can use any absorbent towels that you have on hand. If possible, use small to medium sized towels as you’ll be able to better detail areas as you go.
You can also use a spray mop with a mop pad, such as this one, to give your floors a final sparkle and shine.
The Step-By-Step Process
(1) Make a bucket of mop water (or a mop spray bottle) and saturate an area of the floor in front of you that you’ll be scrubbing. Work from the corner of the room, backwards to limit cross-tracking of dirt and debris.
(2) Using your brush of choice, scrub the saturated area until you noticed the dirt and debris lift. Depending on the level of buildup, you might use a little baking soda on the surface to help provide extra scrubbing power.
(3) After you pour and scrub, mop up the floor cleaning solution along with the dirt and debris that you’ve lifted out of the floor crevices. Do this by using super dry terry cloth towels (throw in the laundry bin as each towel gets saturated). Finish off with a quick spray mop of the floors to make them sparkle!


